Adding Office 365 Admin Role Group Members using PowerShell
Adding Office 365 Admin Role Group Members using PowerShell
To learn more about the different roles click here: Office 365 admin roles.
To start adding members to an admin role, a connection to Office 365 needs to be established first. The following script can be used from technet or you can following the below steps.
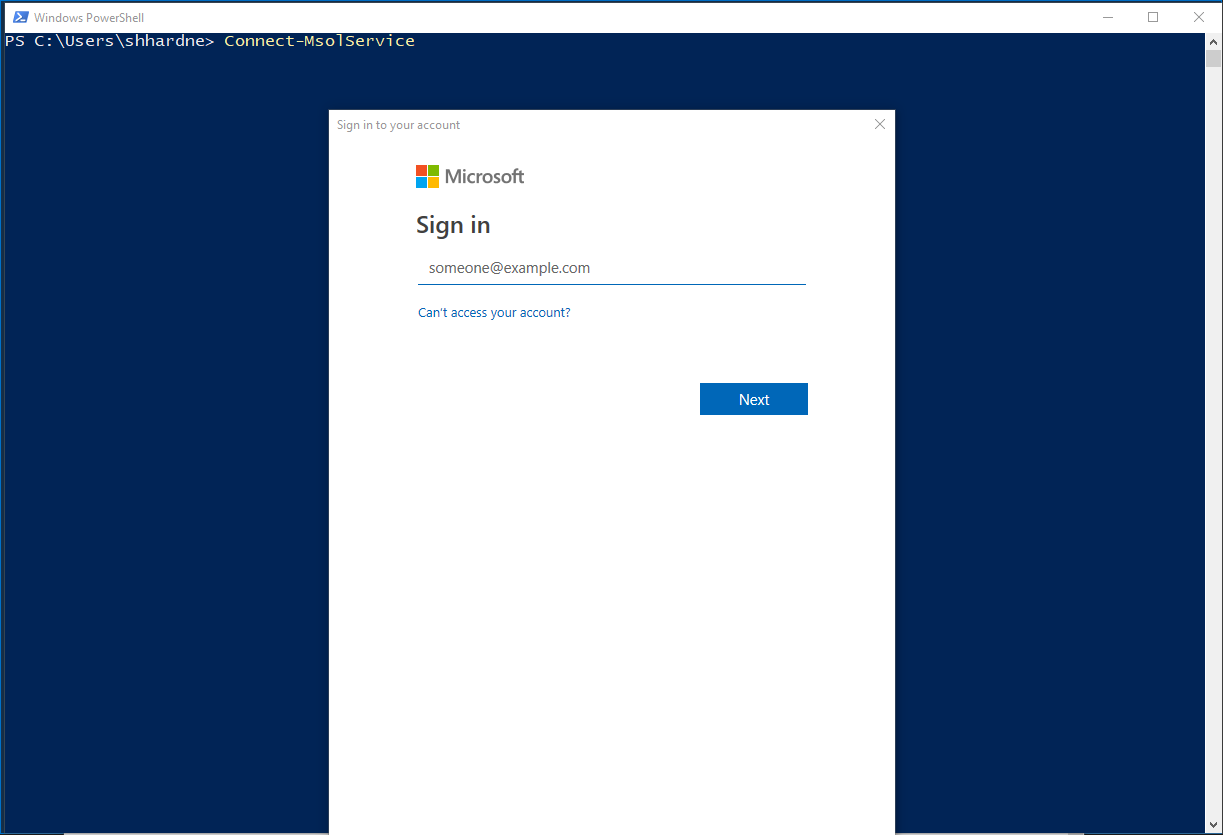
Connect to Office 365 using PowerShell:
Connect-MsolService

Login with your Username and Password
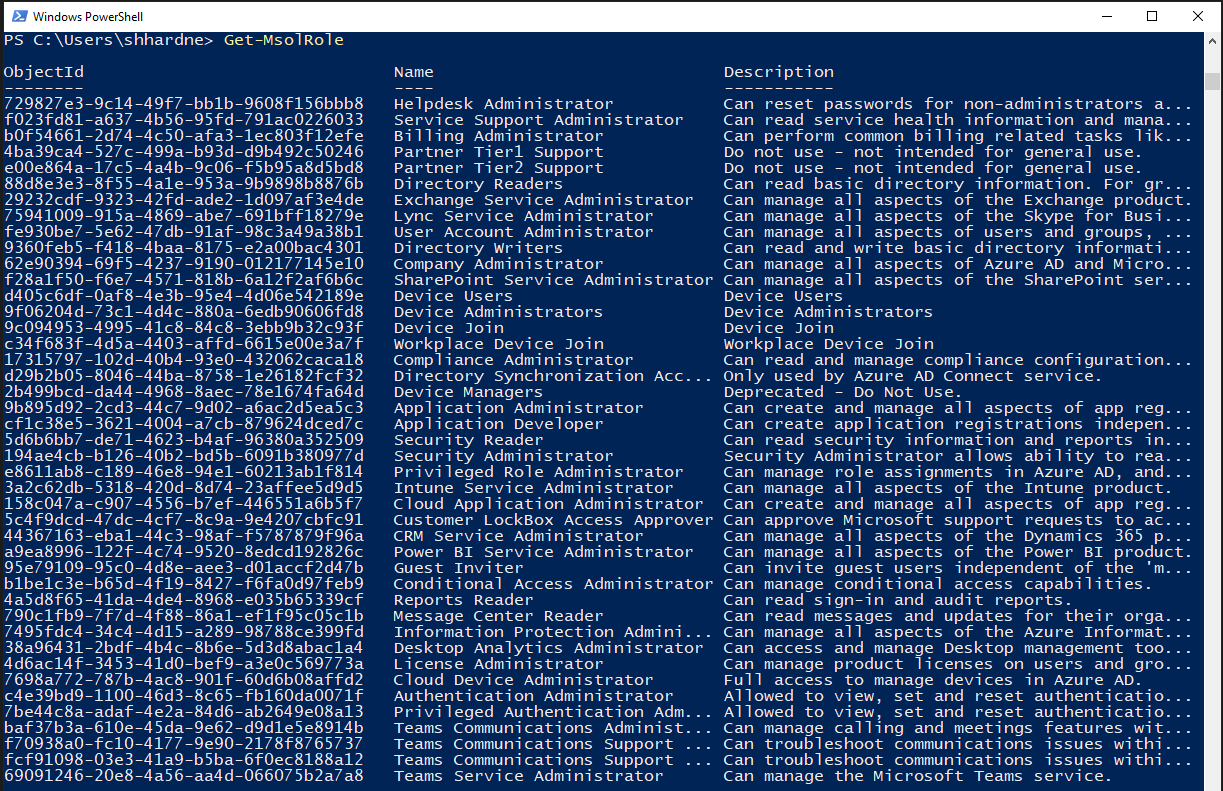
Once a connection to MsOnline Service has been established, run the following to list all available Role groups.
Get-MsolRole
To assign a user to the “Billing Administrator” role group, run the following.
Add-MsolRoleMember -RoleName “Billing Administrator” -RoleMemberEmailAddress bill.hardneck@urbannerd-consulting.com
![]()
To list all the members of the “Billing Administrator” role group, run the following.
First, we need to identify what the ObjectId for the Role group is by running the following.
Get-MsolRole -RoleName “Billing Administrator”

Now that you have the ObjectId, run the following to get the members.
Get-MsolRoleMember -RoleObjectId “ObjectId-number”
To remove a role member, form a role group, run the following.
Remove-MsolRoleMember -RoleName "Billing Administrator" -RoleMemberEmailAddress bill@urbannerd-consulting.com
![]()