Last updated on Apr 4, 2019
Adding Office 365 Admin Role Group Members using PowerShell
To learn more about the different roles click here: Office 365 admin roles.
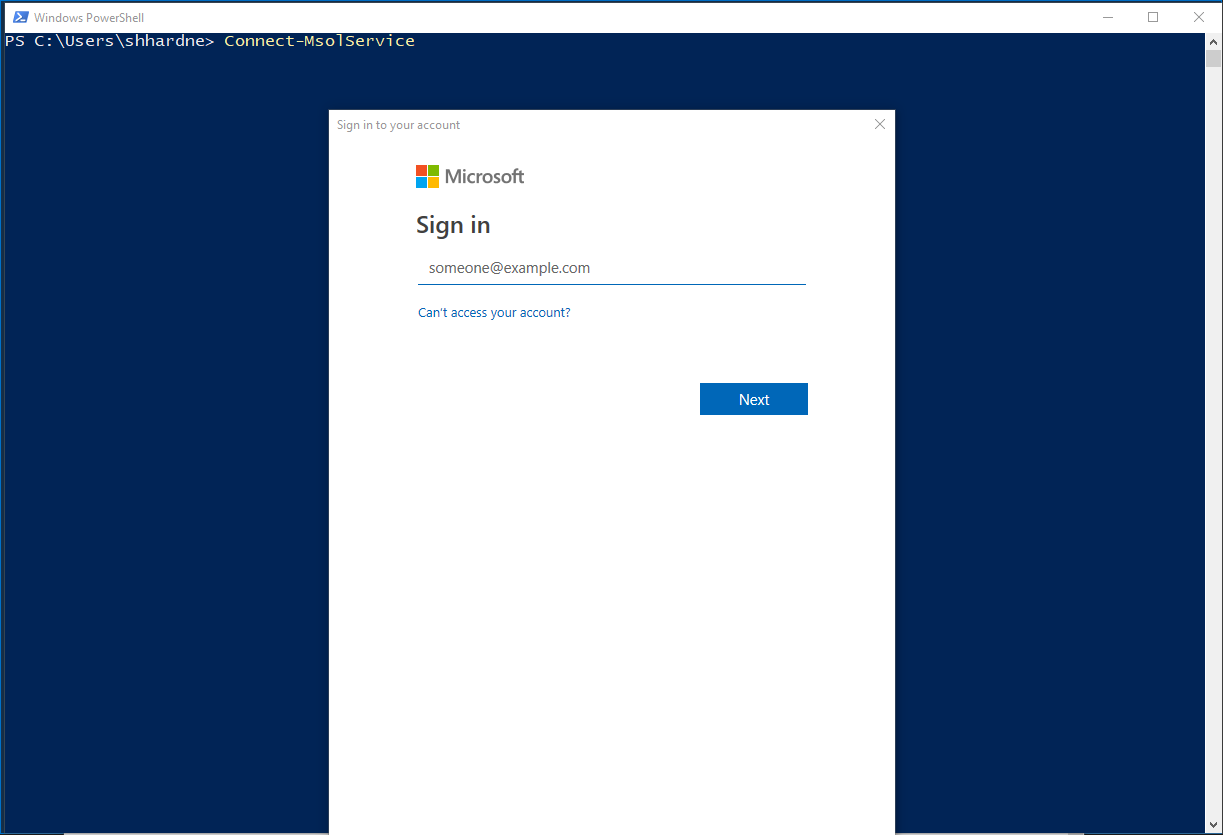
To start adding members to an admin role, a connection to Office 365 needs to be established first. The following script can be used from technet or you can following the below steps.
Connect to Office 365 using PowerShell:
|
1 |
Connect-MsolService |

Login with your Username and Password
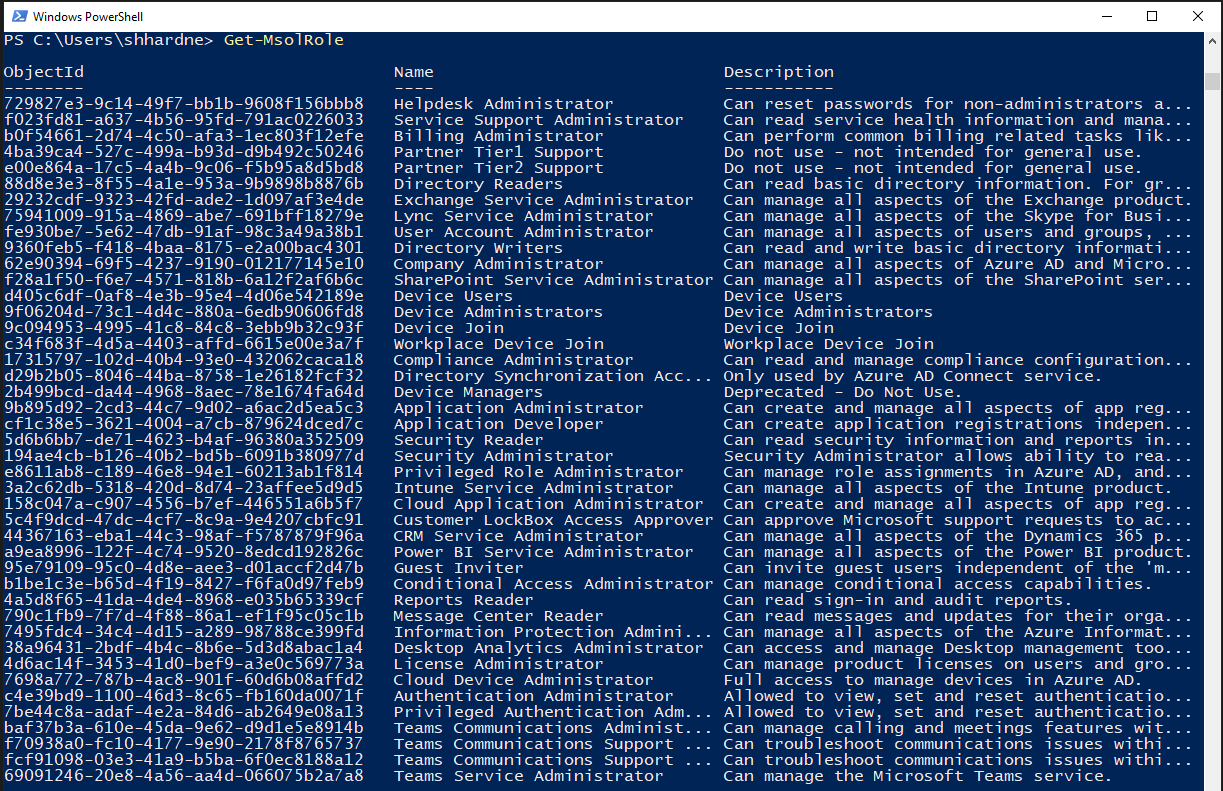
Once a connection to MsOnline Service has been established, run the following to list all available Role groups.
|
1 |
Get-MsolRole |
To assign a user to the “Billing Administrator” role group, run the following.
|
1 |
Add-MsolRoleMember -RoleName “Billing Administrator” -RoleMemberEmailAddress bill.hardneck@urbannerd-consulting.com |
![]()
To list all the members of the “Billing Administrator” role group, run the following.
First, we need to identify what the ObjectId for the Role group is by running the following.
|
1 |
Get-MsolRole -RoleName “Billing Administrator” |

Now that you have the ObjectId, run the following to get the members.
|
1 |
Get-MsolRoleMember -RoleObjectId “ObjectId-number” |
To remove a role member, form a role group, run the following.
|
1 |
Remove-MsolRoleMember -RoleName "Billing Administrator" -RoleMemberEmailAddress bill@urbannerd-consulting.com |
![]()
Be First to Comment