How to allow users to Create Teams Public Live Event
How to allow users to Create Teams Public Live Event
In this quick post, I will run though the steps to create a new Live Events Policy to allow certain users in the organisation to create a Public Live event in Microsoft Teams.
You also have users saying they Public Live Event is greyed out when they create a Live Event.

To get started, Navigate to the Teams Admin Portal. https://admin.teams.microsoft.com
Then click on Meeting >>> Live Event policies

From the Live event Police page, click on +Add

Provide Name and Description for the new policy
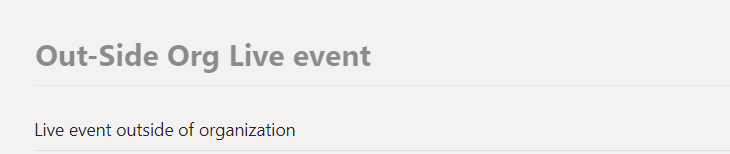
Now we need to set the policy so people outside of the organisation can join the Live Event. To do this change the following setting.
Who can join scheduled live events? – Everyone

Click on Save
Next, we need to assign the policy to a user who needs to schedule the Public Live Event.
On the Live event Policy Page, select the newly created Policy and then click on Managed Users.

On the Mange Users page, search for the user who you need to apply the policy to and click Add.
Then click on Save to Finish.

You can also use PowerShell to Assign the Live Event policy to the user, to do this we need to install the SkypeOnlineConnector PowerShell Module.
Download the Skype Online Module Here: https://www.microsoft.com/en-za/download/details.aspx?id=39366
Once the module has been installed, run the following to import the newly installed PowerShell Module.
Import-Module SkypeOnlineConnector

Once the module has been Imported, let run the following to connect to Office 365
$sfbo =New-CsOnlineSession
The above will let you connect if you have MFA enabled on your user account.
Provide the username and Password for the Admin Account.

Next we need to import the newly created PSSession, run the following
Import-PSSession $sfbo

Once you have a successful connection, you can then run the following to list the current Live Event Policies.
Get-CsTeamsMeetingBroadcastingPolicy

Now that we have a list of available live events Policies, now we need to assign the newly created Policy for Public Live events to a user.
To do that run the following.
Grant-CsTeamsMeetingBroadcastPolicy -Identity Shaun@ThatLazyAdmin.com -PolicyName “Out-Side Org Live event”

To verify that the Policy has been set to the user, run the following.
Get-CsOnlineUser -Identity Shaun@ThatLazyAdmin.com |Select DisplayName,TeamsMeetingBroadCastPolicy

From the above image, we can see that the user now has the Public Live Events Policy assigned.
The user can now start using and create Public Live Events in Teams.